Starting With Renu Prizm Software
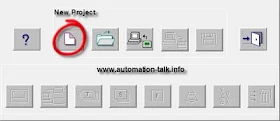
1.First Install the Renu Prizm Software in your PC or laptop. And open it after installation, You will see below screen. Then click on New Project.
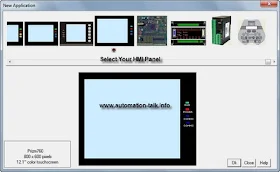
2.Now Select your Model of HMI Panel, here we have selected Renu HMI Prizm 760.
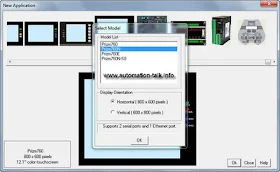
3.Now select Your Prizm760 Model and you can also select Display orientation.
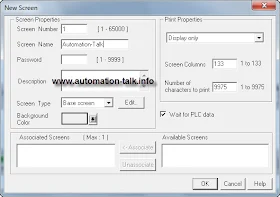
4.Now you you can start making your first screen in Prizm. Just click on Screen and fill the required information like screen name, background etc.
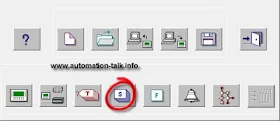
5.Now you can see your first screen and can explore it. There will be drawing tool, Tag, upload, download, save, open, new screen, Alarm and many other button.
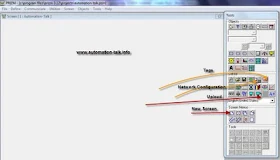
Thus you can now start making your program in Renu Prizm software. You can also Subscribe to Automation-Talk by Email for more coming Renu Prizm and other tutorial or can request here with your comment.

No comments:
Post a Comment